There’s no better time to start seeds than now!
There are few acts that are filled with as much hope and promise as starting your own seeds at home. Within days, you’ll see tiny green baby sprouts emerging from the soil – joy! A few more weeks and you’ll be thinning and repotting them – fun! Soon, with the sun on your face and your fingers in the soil, you’ll be planting these seedlings into your garden. And finally, in a moment where it feels like the whole world holds its breath for you, you’ll pluck the most gorgeous, juicy tomato off the vine, and bite into the crunchiest, sweetest carrot that you’ve ever tasted – life giving!
Just take a moment to imagine how good this make you will feel.
We’d be remiss not to observe how the Covid-19 pandemic has been a wakeup call in terms of how reliant we are on our food supply chain. Most of our fresh produce comes up from the US and Mexico, so as Canadians, our food supply chain is vulnerable. The last couple of years have been an opportunity to take control of how and where we get our food from. Wouldn’t you like to become more self-reliant, to save money, and to reap the healthy benefits of growing your own fruits and vegetables? Wouldn’t you love to teach your children, and their children, with the skills and knowledge they need to grow their own food, today and forever?
Let’s start today!


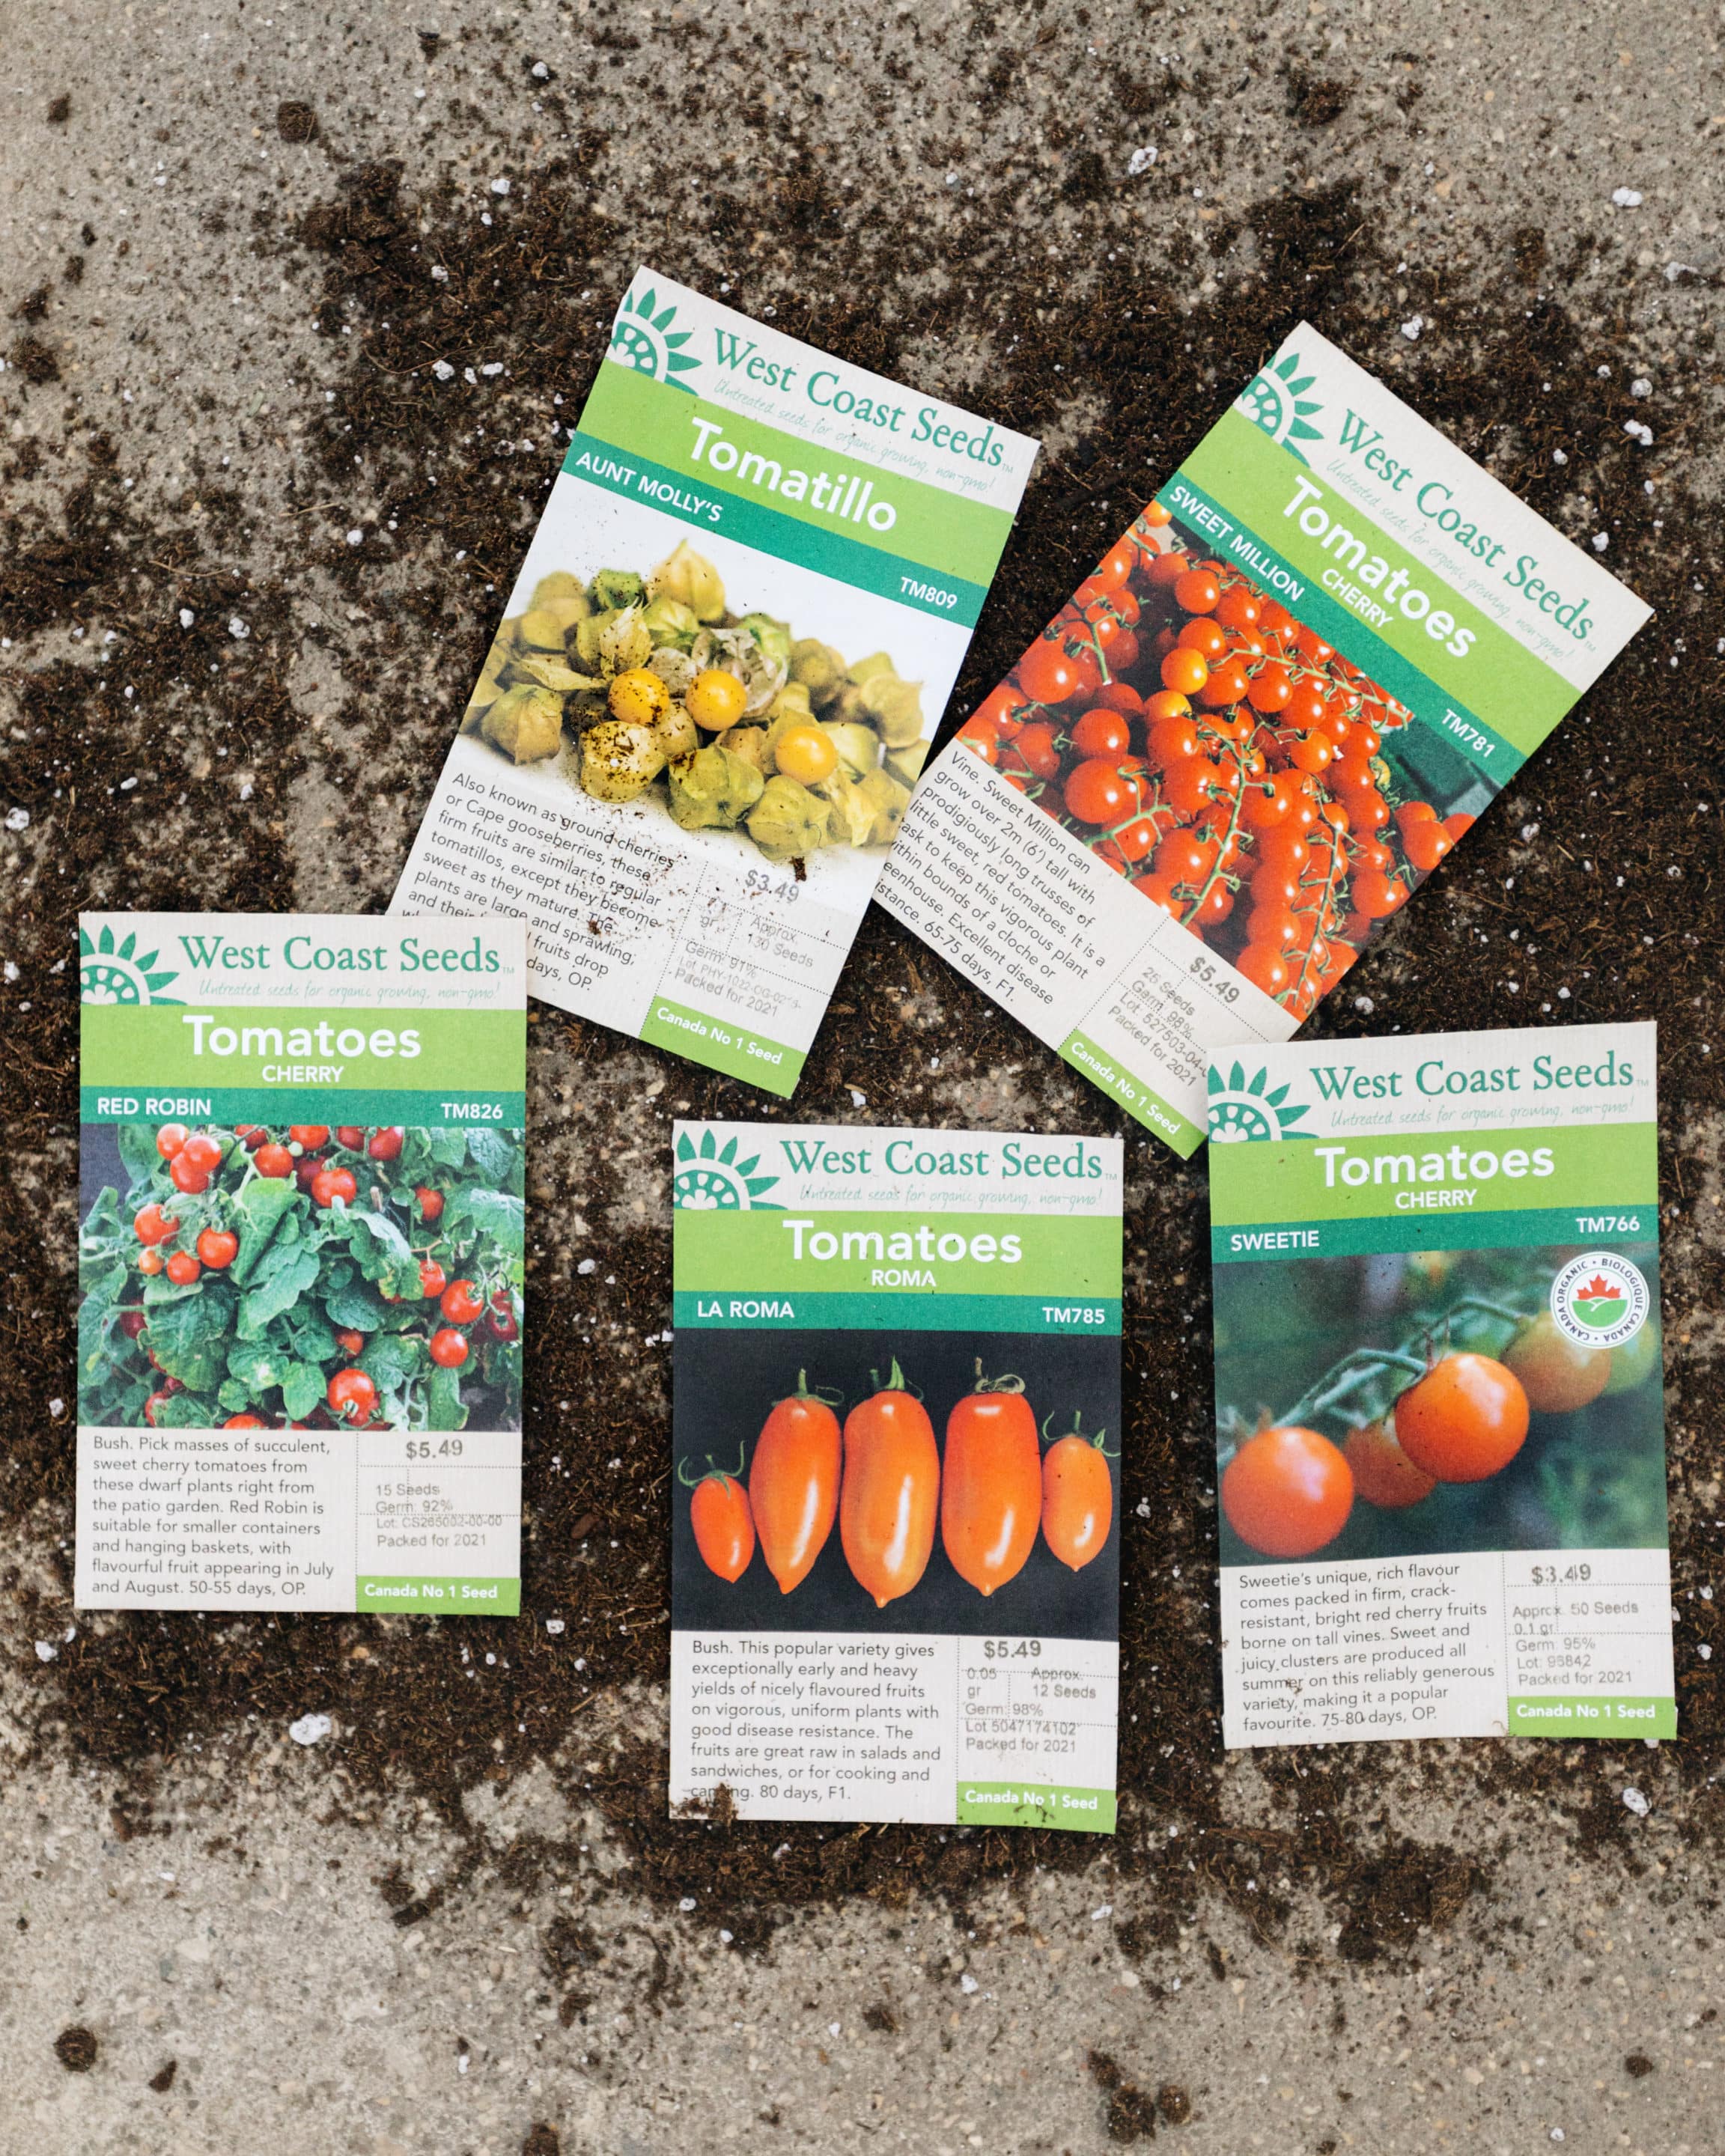
1. Make a list of what you want to grow. This part is easy. What do you like to eat? Once you’ve decided this, it’s time to select the seed varieties you want to grow from our Bulbs & Seeds store in our webshop. This is where the fun begins – there are so many varieties, from organic to heirloom and common everyday favorites. If you need ideas advice or ideas, ask your parents or grandparents – they have this knowledge and they would love to hear your voice right now!
2. Prepare the basics . . .
SEED STARTING MIX is a special blend that’s ideal for sprouting seeds. You simply cannot expect successful germination of seeds without Seed Starting Mix. This lightweight blend holds enough water for seeds to germinate in, but allows essential oxygen to flow and delicate roots to easily penetrate the soil. Do not use regular potting soil, it’s just not fine enough for seeds to germinate and root in.
CONTAINERS can be anything from empty yogurt containers to small, inexpensive peat pots. Whatever you use, be sure to poke holes in the bottom for drainage, so that your seeds are not over-watered. Alternatively, you can plant directly into peat pellets – these little guys are amazing! They’re biodegradable and can be planted directly into the garden when the time comes. It’s also handy to set all of your seedling containers onto plastic trays so you can easily move them around and protect surfaces from water.
HEAT, not light, is needed for seeds to germinate. Consider setting your containers on top of radiators, fridges, or ideally, a Heat Mat. If your seeds don’t have enough warmth, they won’t germinate. Once planted, cover containers with a clear plastic dome, or with a layer of plastic film. Poke a few holes in the plastic with a toothpick for ventilation. This will create a biodome of heat for the seeds to germinate in.
MOISTURE is essential to seed starting. The best way to water seeds and seedlings is with a gentle spray bottle, like a reused windex bottle. They dispense water gently without causing too much soil disruption. You’ll have to check on your seedlings twice a day to make sure they don’t dry out. Set a timer so you don’t forget! The clear plastic dome or plastic film will also help to keep moisture in.
3. Timing is everything. Different seeds germinate at different rates, so you’ll want to start your seeds according to their ‘days to maturity’. This is the time it takes between germination and harvest time. Days to maturity is always indicated on the seed packet, but we highly suggest that you consult our favorite Seed Starting Chart before planting your seeds.
4. It’s time to plant! Fill your clean containers with moistened Seed Starting Mix. Next, plant your seeds at the depth listed on the seed packet, and cover them gently with a light layer of mix. We know you’re excited, but do not plant the whole packet at once! In most cases there are more seeds in the packet than the average household can manage at harvest time. Share excess seeds with your friends, or store them – most seeds can keep up to 3 years. Check on the seedlings daily, making sure to keep the seed starting mix moist but not saturated. Think of the mix as a damp sponge that contains both water and air.
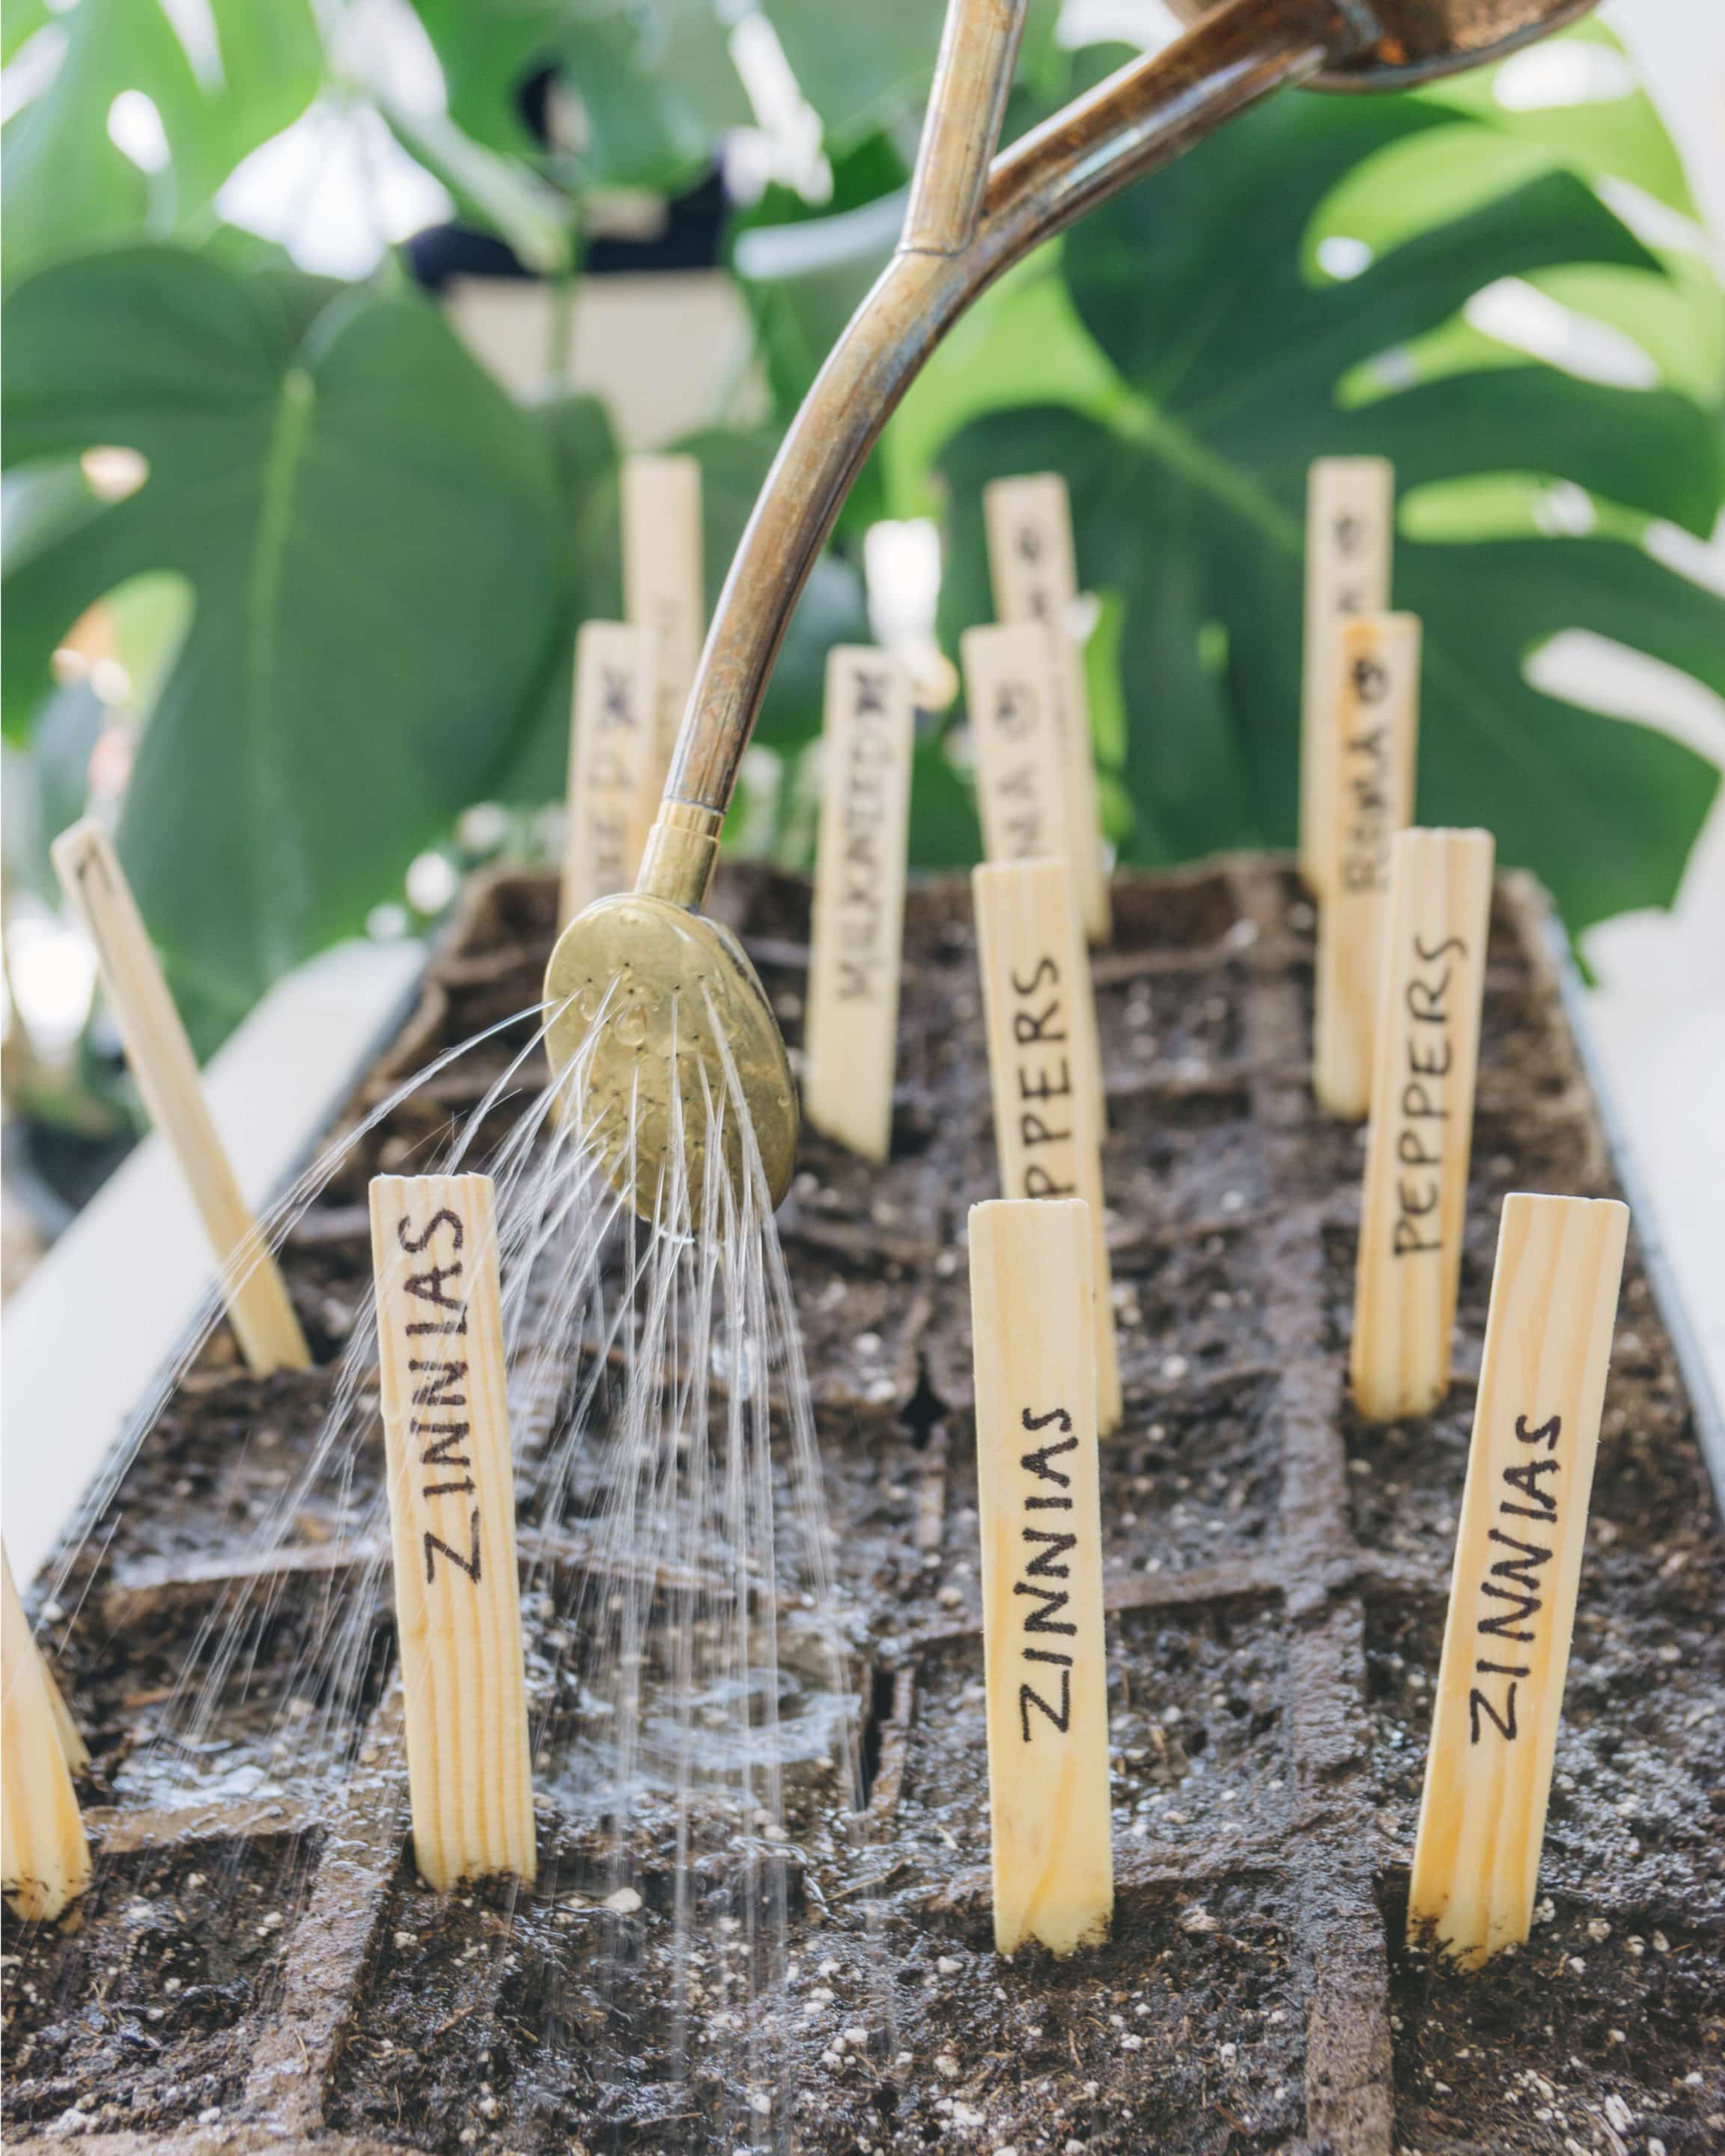
5. Label your containers. This is very important. There’s nothing more frustrating than forgetting what you planted! Seedlings can look the same, and in order to plant out your garden you’ll need to know who is who!
6. Get ready for growth. Once the seedlings emerge from the soil, it’s time to move them into a bright, sunny spot for 6-8 hours of direct sun per day. Cool room temperatures are best for young seedlings. You’ll get sturdier, stockier seedlings if you grow them at temperatures in the high 60s. At higher room temperatures, seedlings may get leggy and weak. Using our favorite local and organic Seedling Fertilizer, start to fertilize once per week, once the sprouts have one or two sets of leaves.
7. Once seedlings have two sets of leaves, it’s time to thin. Unlike the hair on our heads, thinning seedlings is welcomed! You want one seedling per pot, so choose the healthiest, strongest-looking seedling to keep. Snip the other seedlings off at the soil line and discard them.
8. You got this! Our team is ready to take your orders for seeds and seed starting supplies! Ordering is easy when you use our Bulbs & Seeds catalogue in our webshop.
We also want to encourage you to visit our friends at Westcoast Seeds in BC. They’re the most amazing humans, and their website is an absolute treasure chest of seed starting, veggie growing, and garden planning information.
